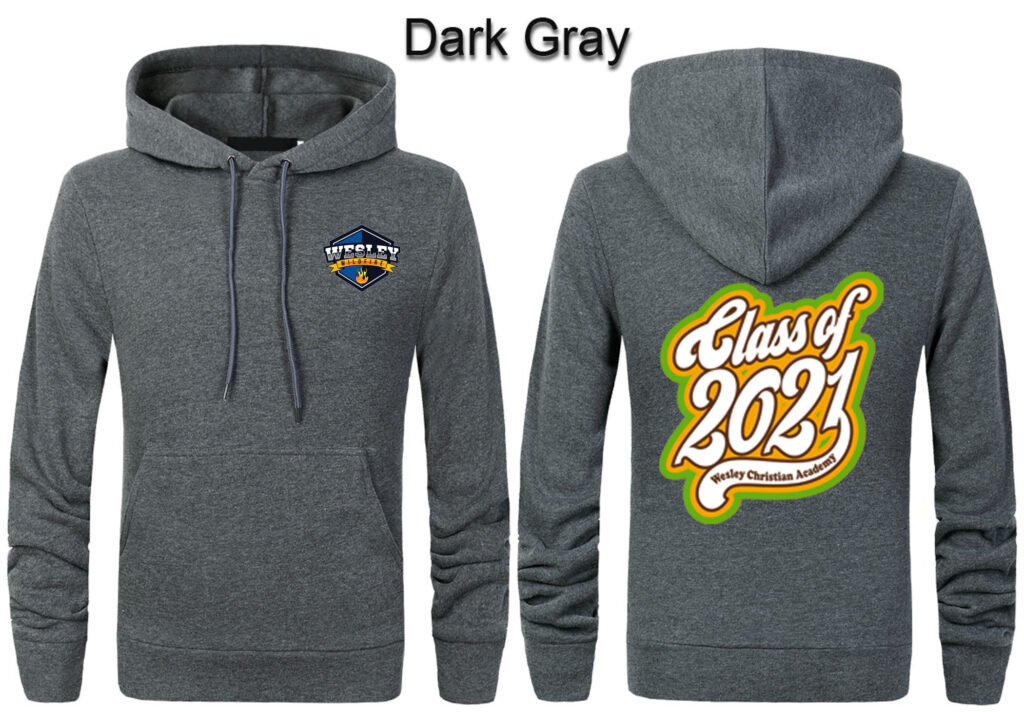
In Vancouver, outerwear is a daily wardrobe staple. From wet fall mornings in North Vancouver to winter days downtown, locals live in fleece, softshell vests, heavy canvas work jackets, and varsity bombers. Because outerwear is such a big part of life here, businesses, sports clubs, and construction crews frequently order custom embroidered jackets.
Putting a large design across the back of a jacket is one of the toughest challenges in the embroidery industry. Jacket back digitizing services in Vancouver demand a level of technical precision far beyond a standard left chest logo. If the file is not digitized with proper sequencing and pull compensation, you end up with puckered fabric, bird nests of thread, and broken needles.
The Hidden Complexity of Large Embroidery Files
A standard chest logo usually ranges between 5,000 and 12,000 stitches. A jacket back design, by contrast, often requires 40,000 to over 100,000 stitches.
When you run that much thread into a garment, you are physically altering the structure of the fabric. Every stitch pulls the fabric inward slightly. Without expert digitizing, several major problems happen:
1. Fabric Puckering
If the stitch density is too high or the underlay is too weak, the fabric buckles around the edges. Instead of laying flat across the shoulders, the jacket bunches up permanently.
2. Gaps Between Outlines and Fills
Because fabric shifts as it is stitched, a poorly digitized file will finish with outlines that do not align with the color fills underneath. A professional digitizer plans for push and pull, deliberately overlapping elements in the software so they lock together perfectly on the machine.
3. Bulletproof Stiff Patches
If a digitizer piles heavy satin stitches on top of thick fill areas without varying the angles, the embroidery becomes as rigid as a piece of cardboard. Quality jacket back digitizing uses balanced stitch lengths and varied directions to keep the garment comfortable to wear.
Fabric Matching Matters in the Pacific Northwest
A file digitized for a heavy Carhartt canvas work jacket will not run properly on a stretchy nylon rain shell. Outerwear fabrics behave differently under tension:
- Softshell and Performance Fabrics: These materials stretch easily and need light, supportive underlay stitching to stabilize the area before the top stitches go down.
- Fleece: High-pile fleece swallows regular stitches. The digitizer must build an open grid underlay to knock the fleece fibers down so the design stays crisp and visible.
- Canvas and Denim: Heavy fabrics require strong penetrations and slightly looser tension adjustments to prevent thread shredding during high-speed runs.
At Dream Embroidery Design, we take your specific garment material into account before placing the first stitch in our digitizing software.
Machine Formats Ready for Production
We build files that run cleanly on all industrial and commercial multi-head machines used by embroidery shops across Metro Vancouver:
- DST (Tajima): The most common commercial format worldwide.
- PES (Brother / Babylock): Great for small business and multi-needle setups.
- JEF (Janome), EXP (Melco / Bernina), VP3 (Husqvarna), and more.
Every order includes a full production sheet showing stitch counts, color stops, thread sequence, and design dimensions so your machine operator can set up the run in minutes.
Frequently Asked Questions
Why does jacket back digitizing cost more than a chest logo?
Jacket back designs are significantly larger and take several hours of manual pathing to balance stitch density, underlay, and thread trims. They require careful planning to prevent tension problems across tens of thousands of stitches.
What is the standard turnaround time for a jacket back file?
Because of the size and detail involved, jacket back digitizing typically takes 24 to 48 hours. We also provide rush delivery if you have a tight production deadline.
Will the file work on any brand of embroidery machine?
Yes. Just let us know what machine model you run, and we will supply the exact file format you need, including DST, PES, EXP, or JEF.
What happens if the test stitch shows puckering?
We offer free unlimited revisions. If your test stitch on your specific fabric reveals any issues with tension, density, or alignment, let us know and we will adjust the file right away.